Using Live URL Scanning
Get real-time reports and insights on your URLs in production or staging
With the addition of URL scanning, you can now get real-time reports and insights on all your URLs be it in production or staging environments alongside your design files and code repositories. All issues are grouped according to the WCAG guidelines, so it’s super easy to see how many issues per category exist.
To get started:
- Log into your Stark account
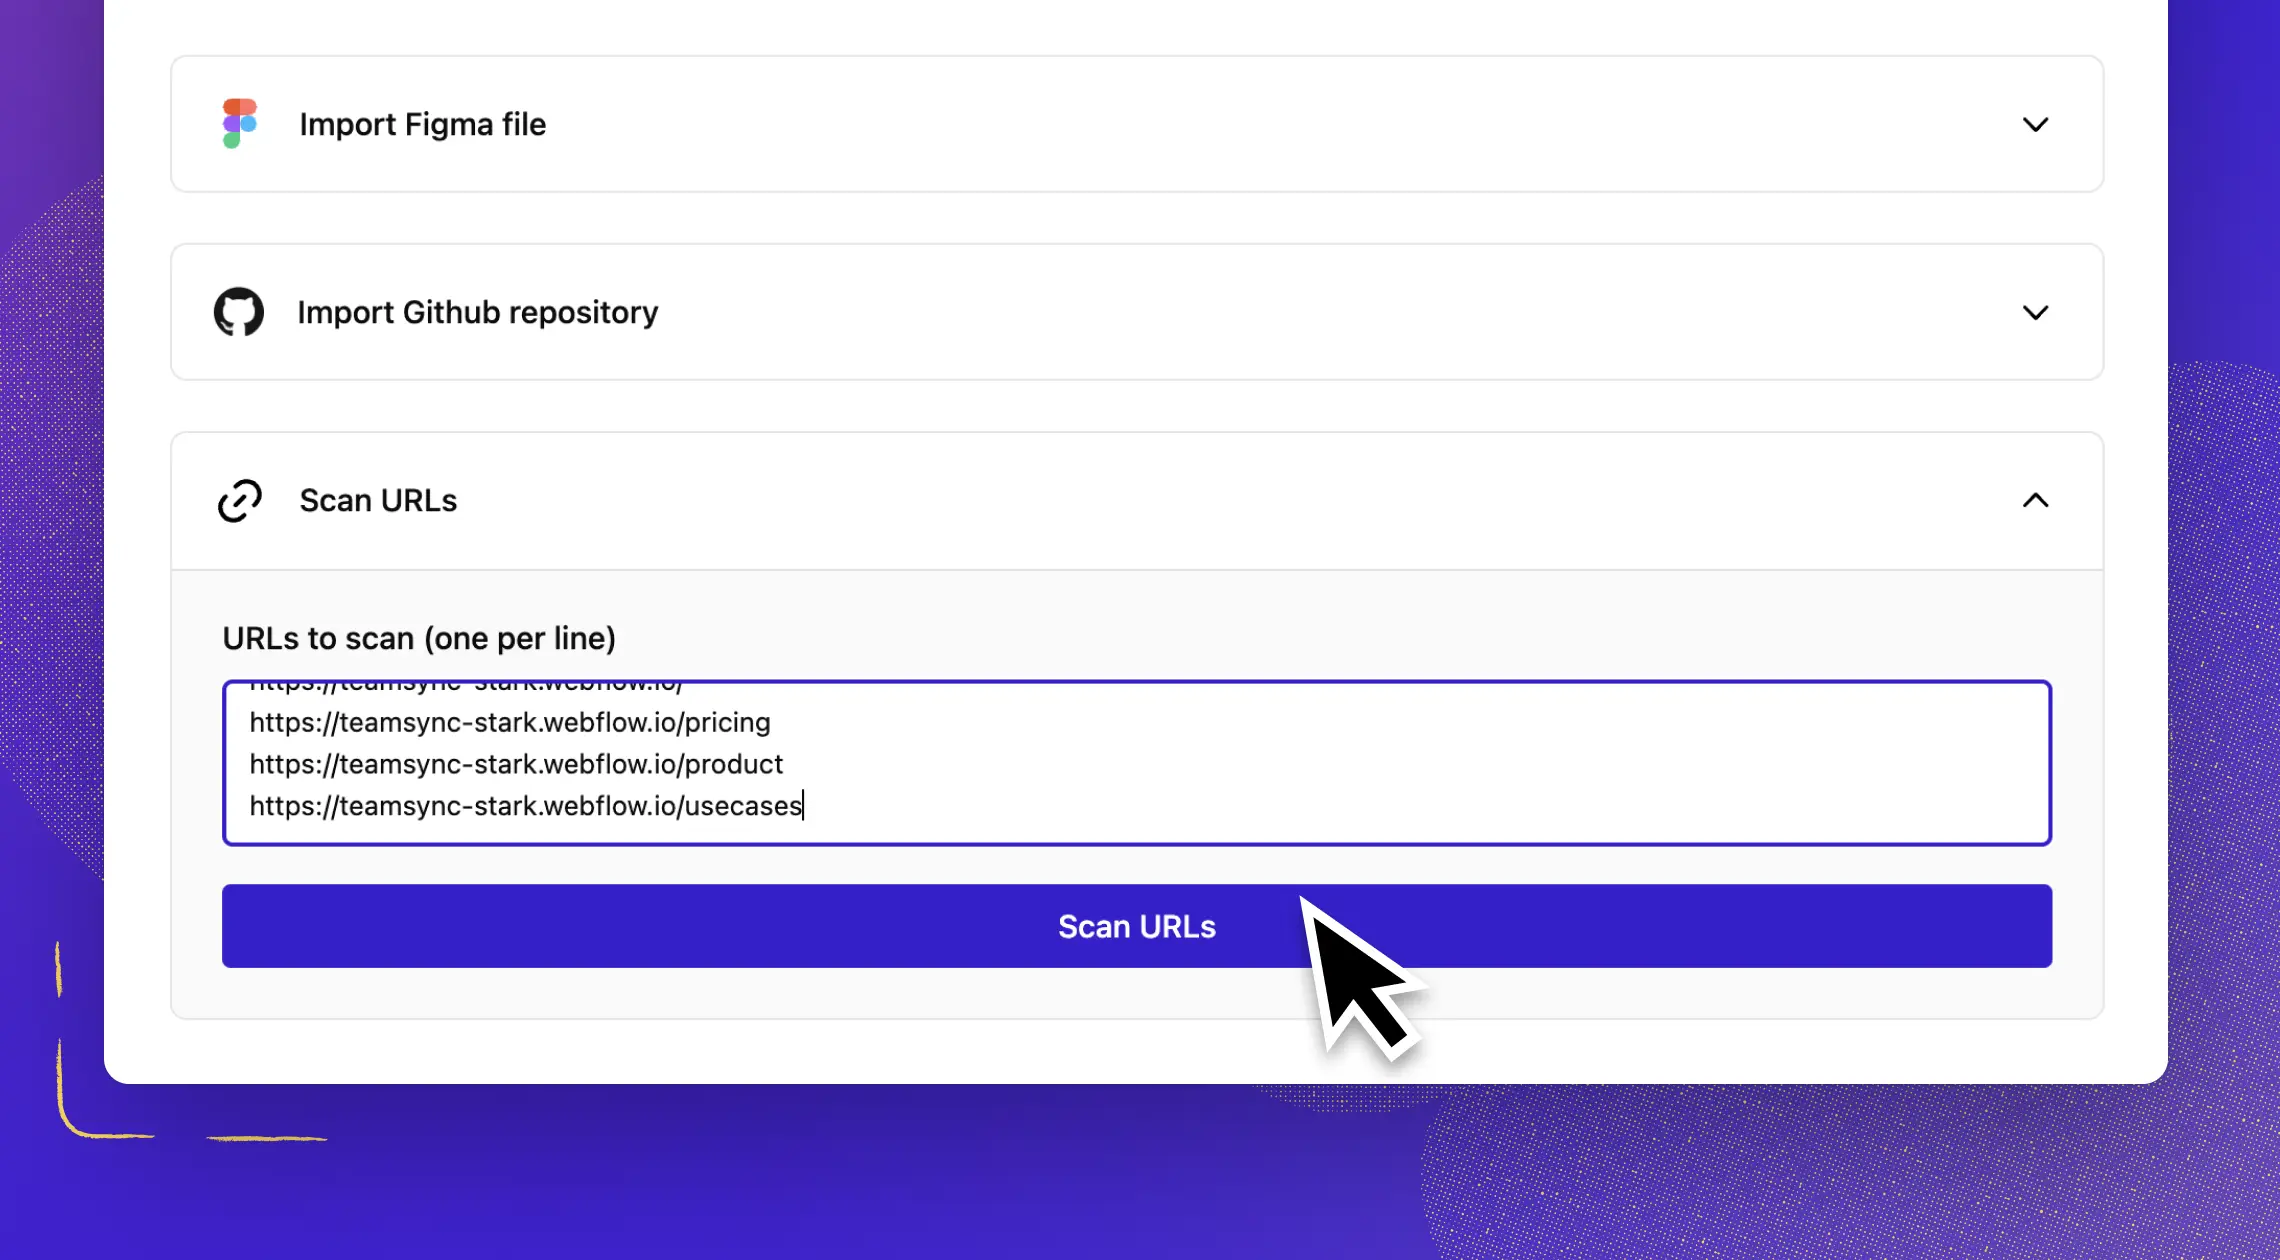
- Click
Create a Project - Scroll to
Scan URLsand add one URL per line - You can now run your first scan! 🎉
- Download and link your teammates to the
Reportto get started fixing each of the surfaced issues.
Advanced URL Settings
Stark offers a number of advanced settings to meet the needs of your URL scanning needs.
Authenticated scanning
Stark's URL scanner supports additional inputs for authentication fields. This allows the scanner to scan pages that sit behind credential-based username/password authentication. Let's gets started:
- Click
Advanced Settings - Turn on
Requires authentication - Enter the username and password credentials
In order for our scanner to be able to attempt a login, we need a couple things:
- What page is the login form on?
- How can our scanner recognize the username input field?
- How can our scanner recognize the password input field?
- How can our scanner recognize the which button to click to make the authentication request? (Usually this is the Login button.)
- What are the username and password to use?
Everything here should be pretty straightforward. To determine what the values are for selectors, follow these steps:
- Use the
right click → Inspect Elementfeature in the browser to view the exact input element for the username and password field. (Be sure to select the input field directly and not an element that’s wrapping the input; it must be an“<input>”element specifically). - You’ll want to use the browser developer tools to copy either the CSS Selector or the Full XPath for the username input, password input, and submit button.
- For CSS Selector, ensure you grab the selector for the core
“<button>"or"<input>”element and not a wrapper around it. - For Full XPath: xpaths need to be wrapped in
::-p-xpath()
- For example:
//input['Enter your email'] - Should be:
::-p-xpath(//input['Enter your email'])
- For example:
- For CSS Selector, ensure you grab the selector for the core
- Once you have filled out all the required fields, you can go ahead and import the URL and start the scan! 🎉
Defining when to scan
If you find that you're not getting the results you expect, it could be that the scans are being triggered too soon. This is especially the case if you have a lot of content that is loaded in dynamically. Review the options here and pick the one that makes sense for your pages.
Viewport size
Choose between sensible defaults like desktop, tablet or mobile for your page size. You can also define a custom viewport size as well.
Scan Region
You can force the region your scan originates from. This is helpful if you have geo-blocking in place or you want to ensure your page is scanned as intended for your audience in different countries.
Stark scans your URLs and finds accessibility issues. By default, Stark will start scanning your URLs based on WCAG 2.2 AA compliance levels. You can change the compliance level and WCAG version from the dropdown in the URL asset. As soon as you’ve selected a different compliance level results will be filtered and the selection will be persistent for any future scans.
Have any questions about using Stark's Web App? Don’t hesitate to reach out to us at support@getstark.co.