Using Accessibility Notes
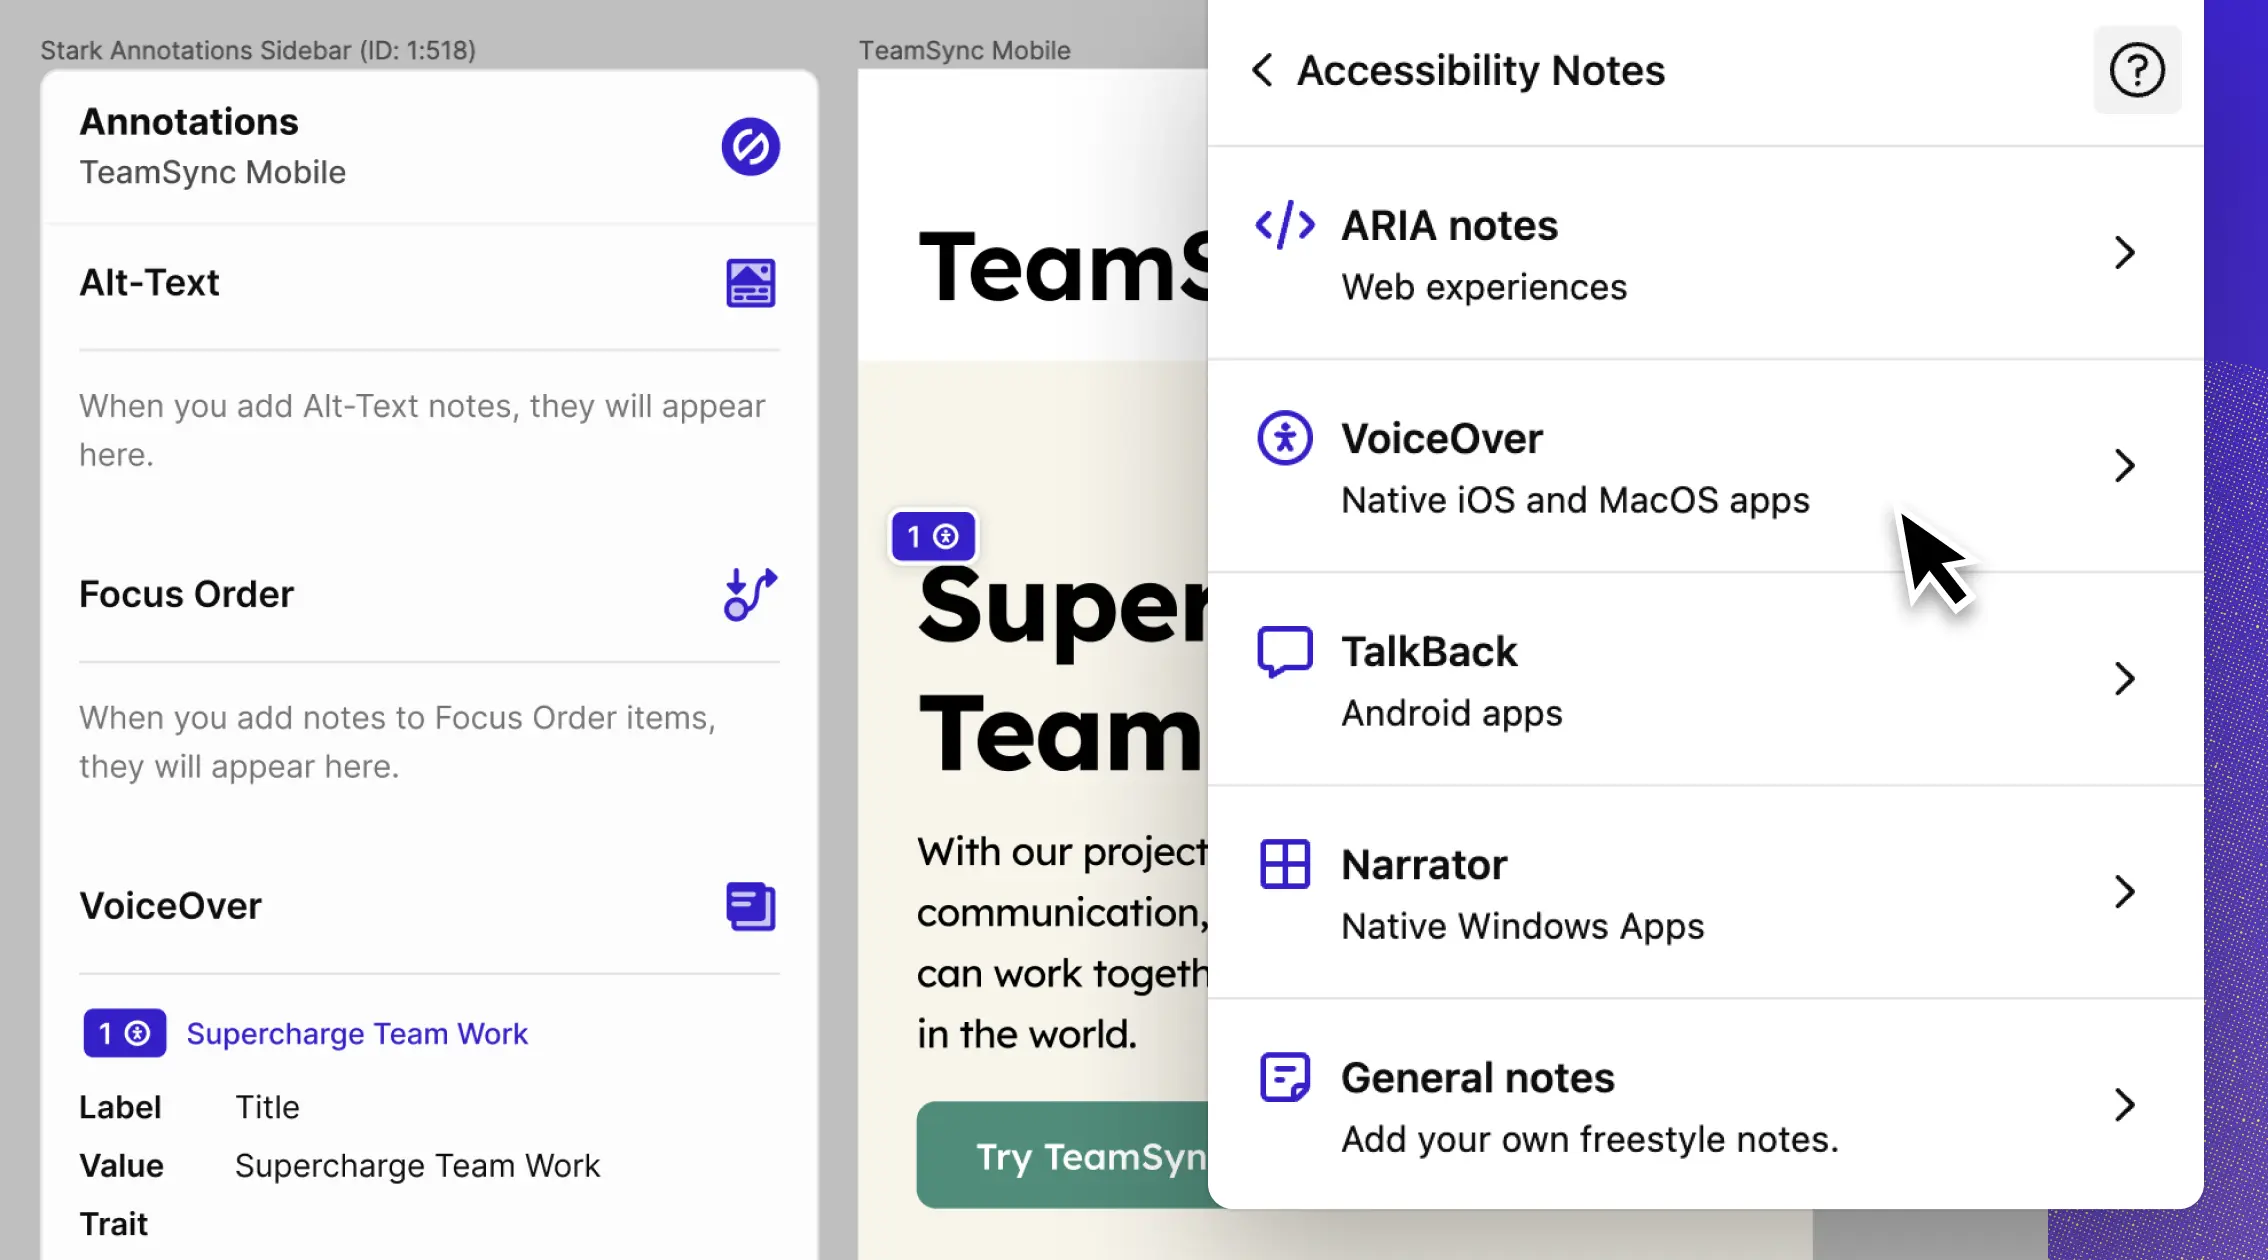
Get started adding annotations for assistive technologies such as iOS VoiceOver, Android Talk Back or Windows Narrator.
With Accessibility Notes, you can annotate anything from your websites and mobile apps to your TV or special experiences is just a click away.


Accessible Name
Having accessible names on your elements provides an improved voice and screen reader experience when no visible text labels are present.
- Download/install Stark for Figma from the plugins menu
- Go to
Plugins > Stark - Open
Accessibility Notes > Accessible Nameon the plugin - Select the layer that needs the Accessible Name annotation
- Select
Add item - Provide an
Accessible Name - Add a note (optional) to help out your developer
- Click
Done - The detailed annotations will be displayed in the Sidebar Panel alongside other written annotations on your file.
ARIA Notes
ARIA or Accessible Rich Internet Applications, are annotations that allow you to describe roles and attributes that can be added to HTML elements to improve accessibility. ARIA helps enable better accessibility for content (for example, helping screen readers operate correctly).
- Download/install Stark for Figma from the plugins menu
- Go to
Plugins > Stark - Open
Accessibility Notes > ARIA noteson the plugin - Select the layer that needs the ARIA note annotation
- Select
Add item - Add detailed annotations such as
aria-haspopup="true" - Add an annotation label (optional)
- Click
Done - The detailed annotations will be displayed in the Sidebar Panel alongside other written annotations on your file.
If you want to read more about ARIA, we have several resources in our Library and we especially love this detailed guide from MDN.
VoiceOver
VoiceOver is a screen reader feature in Apple's macOS, iOS, and iPadOS, that reads onscreen content and relevant semantic info (such as headings, lists, and links) and assists in navigating through apps and websites, enhancing accessibility for users with vision impairments.
- Download/install Stark for Figma from the plugins menu
- Go to
Plugins > Stark - Open
Accessibility Notes > VoiceOveron the plugin - Select the layer that needs the VoiceOver annotation
- Select
Add item - Add detailed annotations such as
Label,Value,Trait,Hint, andNote - Click
Done - The detailed annotations will be displayed in the Sidebar Panel alongside other written annotations on your file.
If you want to read more about VoiceOver, we have several resources in our Library.
TalkBack
TalkBack is a screen reader service provided by Google for Android devices. It offers spoken feedback to help blind and low-vision users interact with their devices, reading aloud text and other elements on the screen and providing navigational cues for apps and web browsing.
- Download/install Stark for Figma from the plugins menu
- Go to Plugins > Stark
- Open
Accessibility Notes > TalkBackon the plugin - Select the layer that needs the TalkBack annotation
- Select
Add item - Add detailed annotations such as
Voiced Preview,Content,Value/State,Role,ActionandNote - Click
Done - The detailed annotations will be displayed in the Sidebar Panel alongside other written annotations on your file.
If you want to read more about VoiceOver, we have a few resources in our Library.
Narrator
Narrator is a built-in screen reader in Microsoft Windows operating systems. It reads aloud text on the screen and provides audio cues to assist users with visual impairments. Narrator helps in navigating the interface, accessing content, and controlling the computer, enhancing Windows' accessibility practices.
- Download/install Stark for Figma from the plugins menu
- Go to
Plugins > Stark - Open
Accessibility Notes > Narratoron the plugin - Select the layer that needs the Narrator annotation
- Select
Add item - Add detailed annotations such as
Name,Role,Value,Description, andNote - Click
Done - The detailed annotations will be displayed in the Sidebar Panel alongside other written annotations on your file.
TV Notes
Smart TV apps and 10ft experiences may need additional considerations for accessibility. Provide attributes to your developers to help them build out accessible experiences.
- Download/install Stark for Figma from the plugins menu
- Go to
Plugins > Stark - Open
Accessibility Notes > TV Noteson the plugin - Select the layer that needs the TV note annotation
- Select
Add item - Add detailed annotations such as
Label,Role,Hint,Description,Audio cue, andNote - Click
Done - The detailed annotations will be displayed in the Sidebar Panel alongside other written annotations on your file.
React Native
If you're building your app with React Native, be sure to include the correct attributes to provide an accessible user experience.
- Download/install Stark for Figma from the plugins menu
- Go to
Plugins > Stark - Open
Accessibility Notes > React Nativeon the plugin - Select the layer that needs the TV note annotation
- Select
Add item - Add detailed annotations such as
Label,Role,Hint,State, andNote - Click
Done - The detailed annotations will be displayed in the Sidebar Panel alongside other written annotations on your file.
General Notes
- Download/install Stark for Figma from the plugins menu
- Go to
Plugins > Stark - Open Accessibility Notes > General Notes on the plugin
- Select the layer that needs the General Notes annotation
- Select
Add item - Add detailed annotations such as
TitleandNote - Click
Done - The detailed annotations will be displayed in the Sidebar Panel alongside other written annotations on your file.
Have any questions about using Accessibility Notes? Don’t hesitate to reach out to us at support@getstark.co.