Using Landmarks
Intentionally outline the structure of your website
By annotating each section of your design with the appropriate label, Landmarks in Stark helps you efficiently outline the structure of your website, removing the guesswork during the designer/developer workflow. This ensures that developers won't have to approximate where exactly they should be included in the code.
This allows people using assistive technology like people using screen readers, keyboard users, and people with visual disabilities, to more quickly and easily navigate to the sections of your page that are most important to them and helps them avoid having to tab through all of your focusable elements.
Using Landmarks with Figma and Sketch plugins
Download: Stark for Figma, Stark for Sketch

To use Landmarks in your design tool, go to Plugins and choose Stark > Landmarks. The plugin can now be used to annotate your design file.
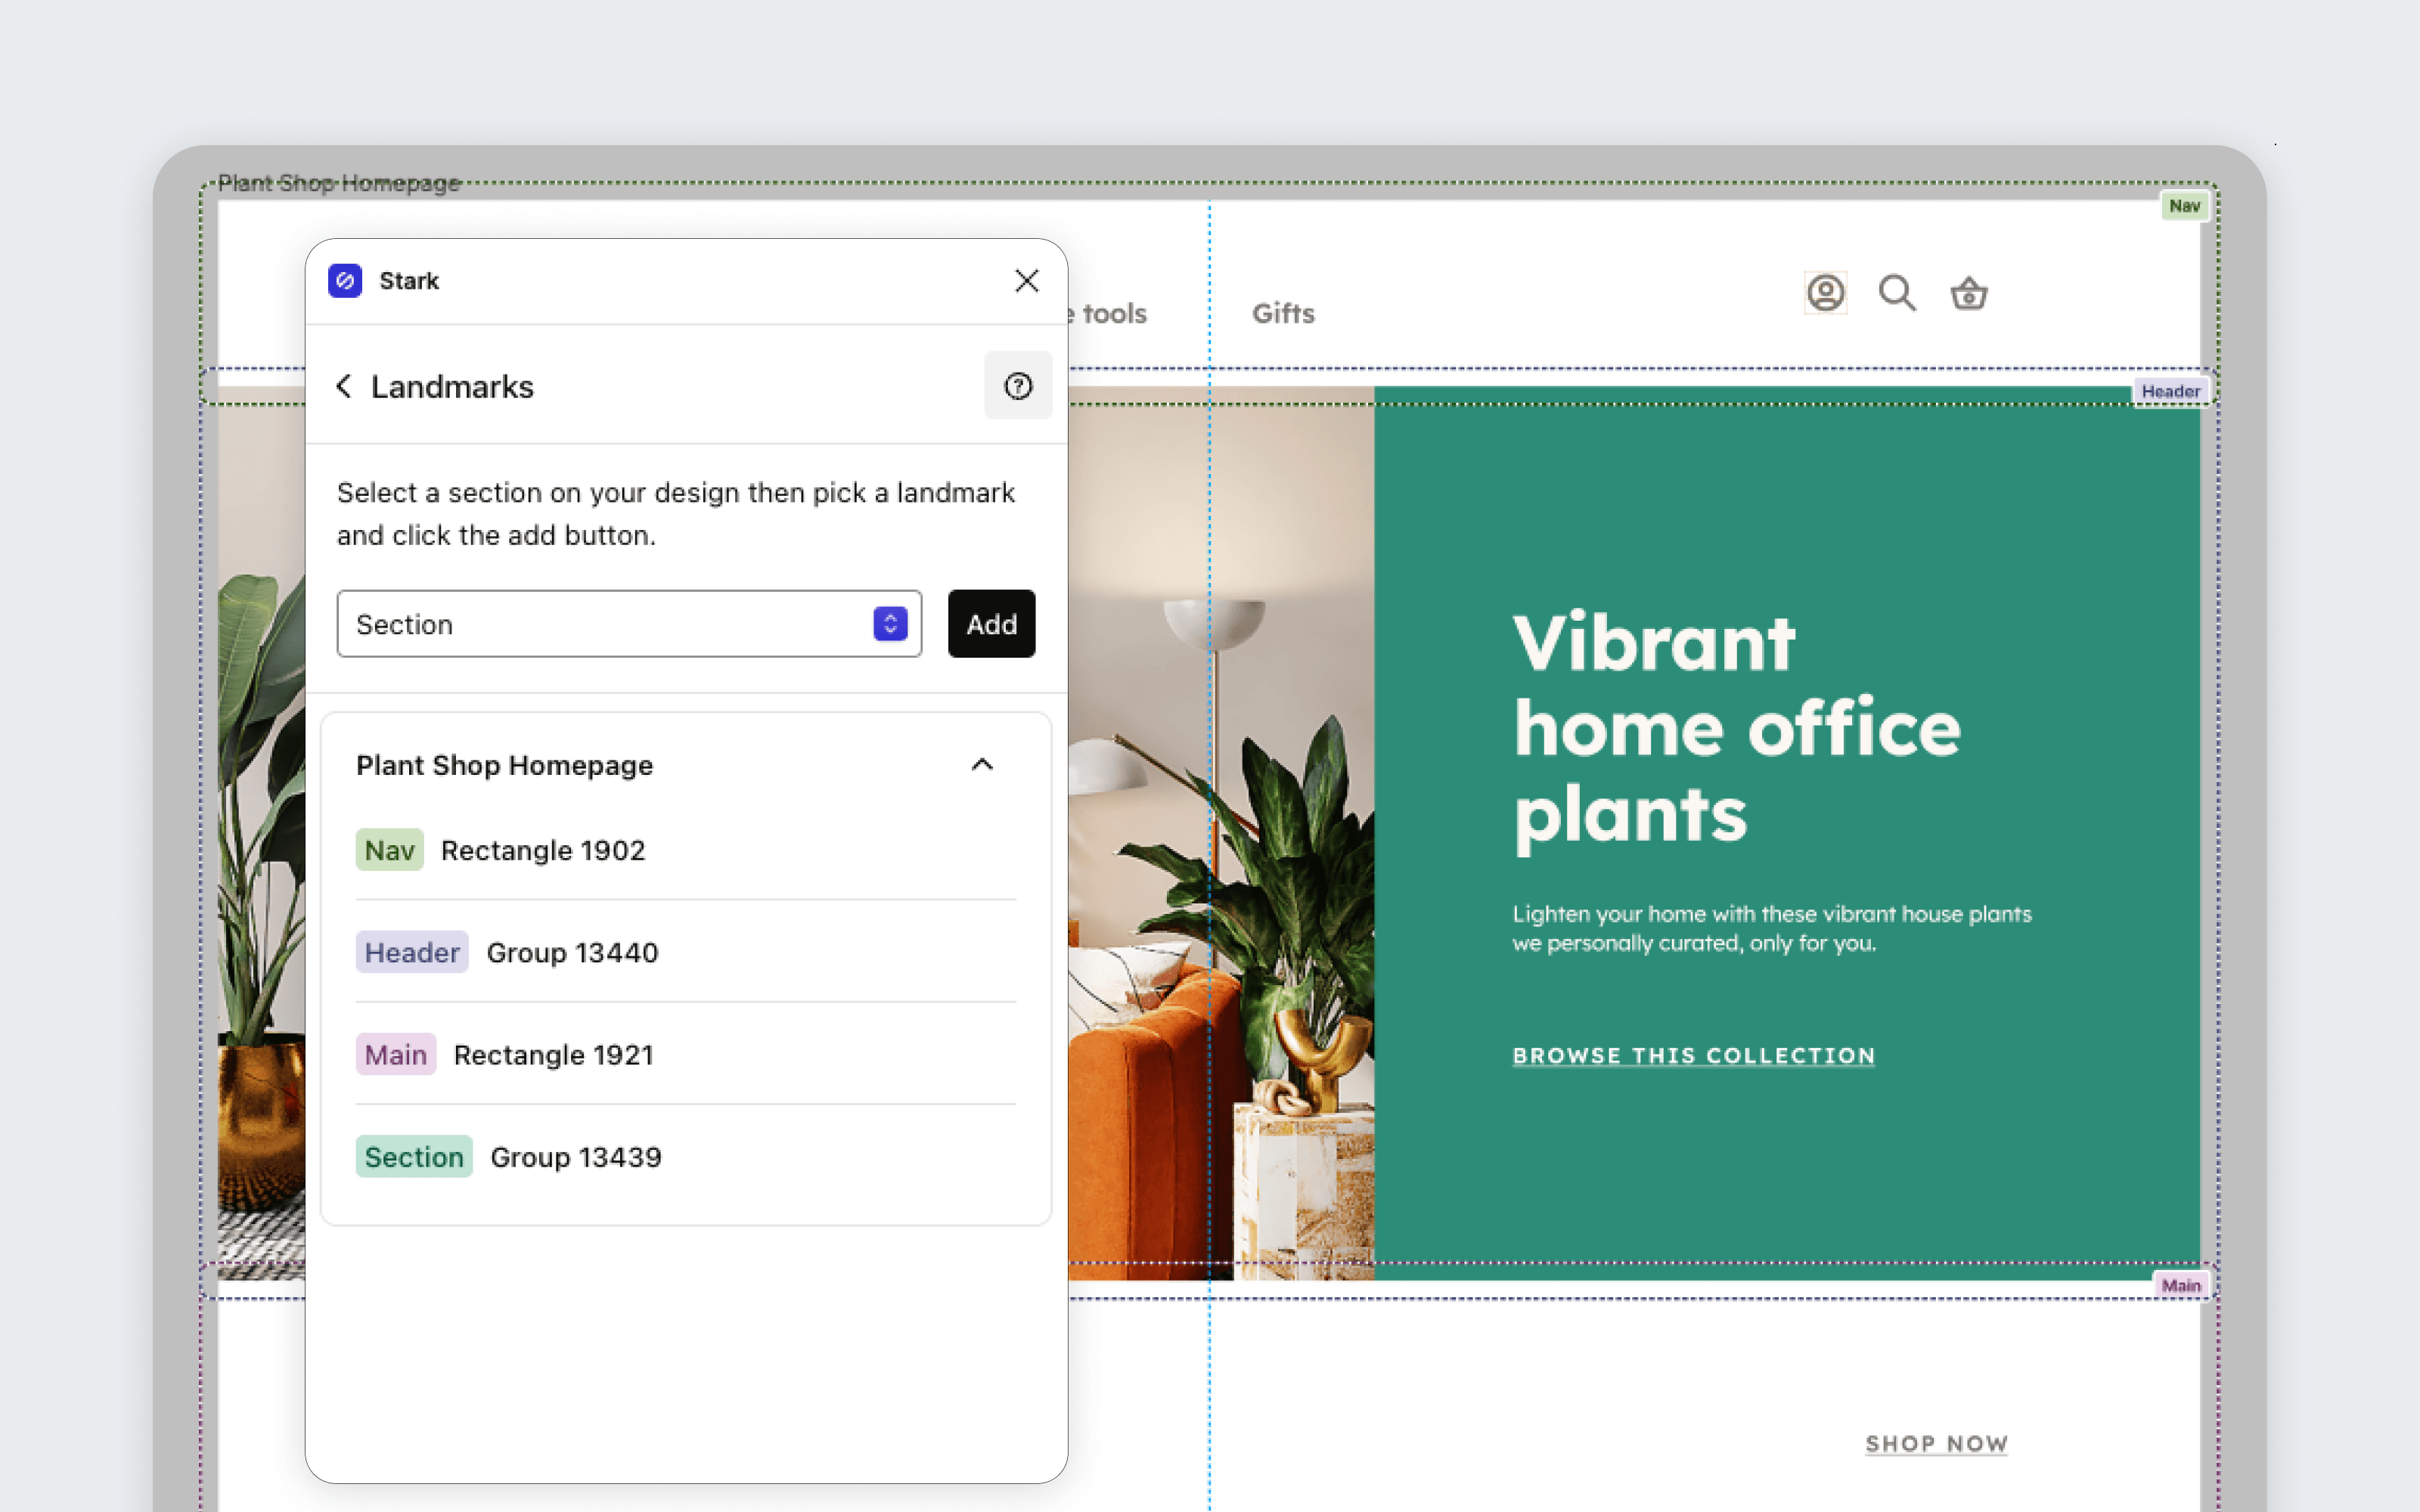
Landmarks adds both a landmark badge and a dashed box around the sections of your design. This removes any doubt about where and what these sections are.
Adding Landmarks

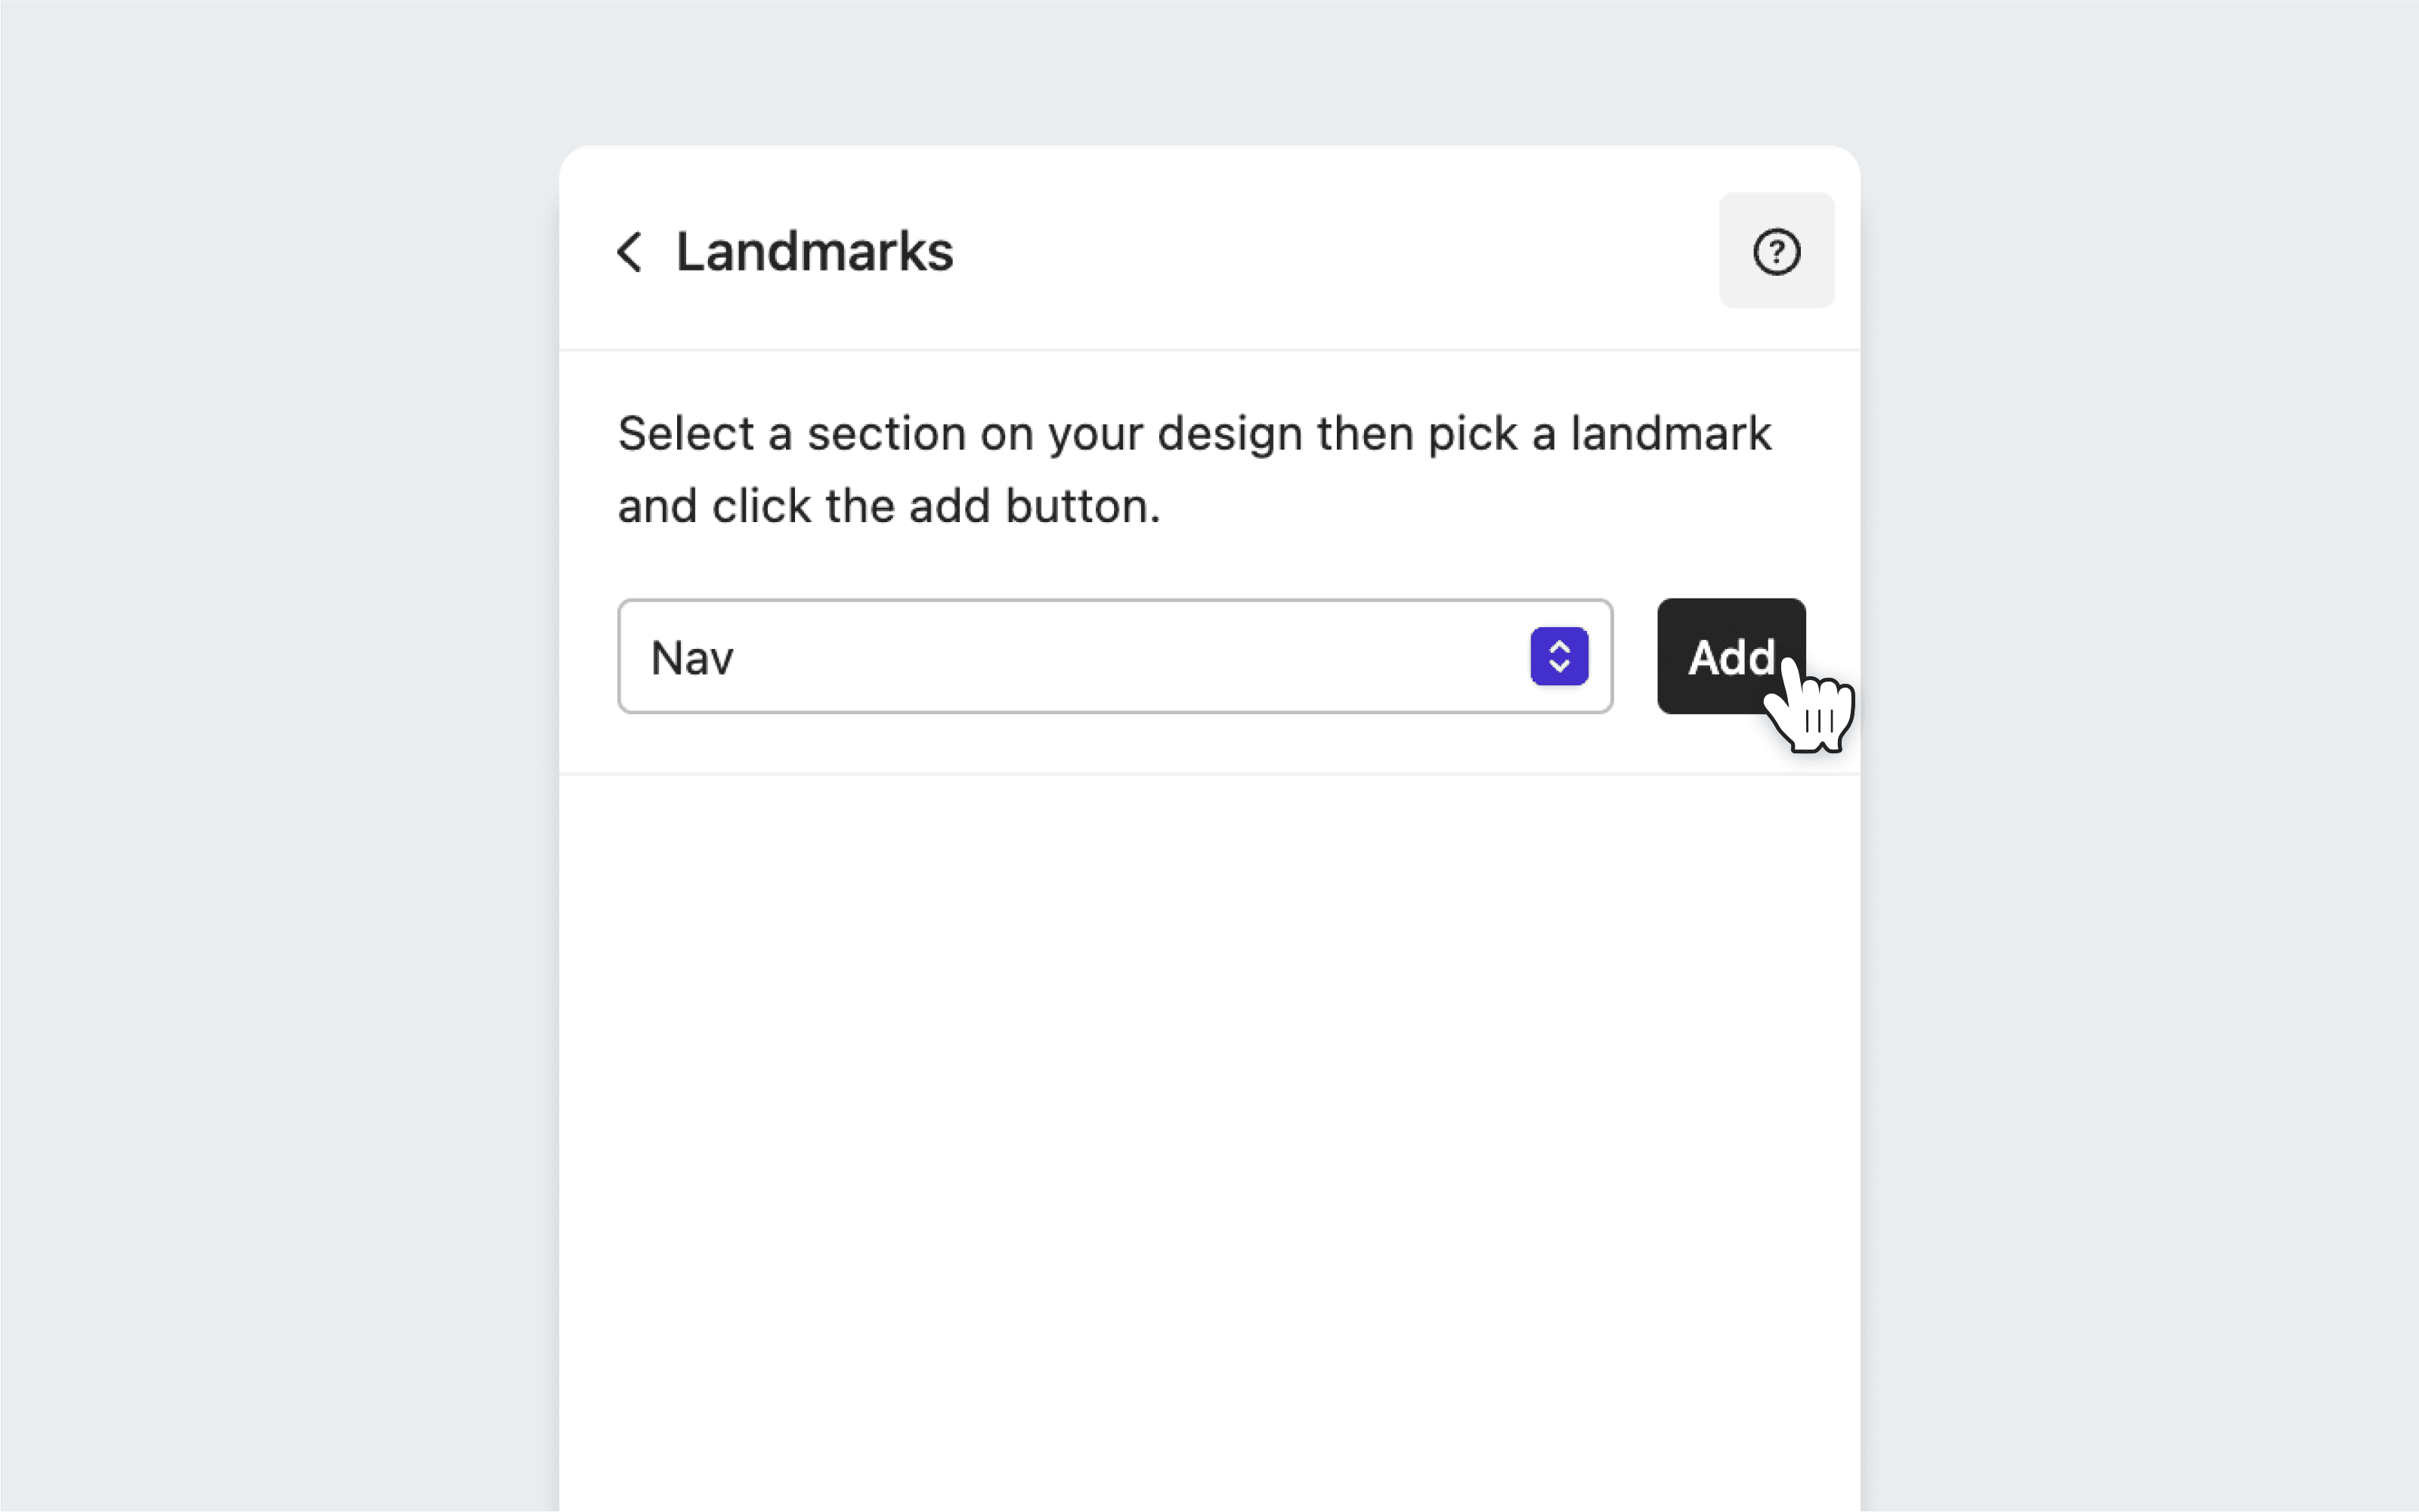
Select a section of your design, pick the appropriate landmark from the dropdown menu, then click Add.
](https://res.cloudinary.com/stark-lab/image/upload/v1660084450/Delete_Sections_e025ee305f.png)
Landmarks are grouped by artboard and can be collapsed and expanded as needed. Hovering over a landmark will also give you the option to delete it.
Landmark section types
Most skilled screen reader users use landmarks to get around a web page, especially if it’s long or complex. Landmarks are the structural elements in HTML that define the regions of a page.
Some landmarks require an accessible name. For example, <section> or <div role=”region”> require an accessible name to construct a landmark. You can give them an accessible name using the aria-label or aria-labelledby attribute.
When using more than one landmark on a page, they should have accessible names. While not a requirement, this is a recommendation from the W3C and will improve the usability in general.
If your page has multiple landmarks of the same type, or you’re using nested landmarks, it’s expected that they have accessible names to make them easy to identify and distinguish.
Nav
Short for navigation, the <nav> landmark should be used to hold the main menu. You can also use it for other menus, toolbars, and social media links.
Header
Not to be confused with heading levels like h1 or h2, the <header> element typically contains stuff that’s repeated at the top of every page, such as the main navigation.
Main
You should use the <main> element to wrap the page region that contains your most important content. The beginning of <main> is where you want your users to start reading.
Section
On a really long or complex page, the <section> element is a useful landmark for splitting up other elements, like <main>. <section is only treated as a landmark if it’s given an accessible name.
Aside
If you go off on a tangent with a pull quote or a sidebar, enclose it inside of an <aside> element.
Form
HTML <form> elements become landmarks when they’re given an accessible name.
Footer
When used as a top-level element, the <footer> is a landmark for the content that’s repeated at the bottom of every page, like copyright info. You can also use a <footer> to set apart content at the bottom an article (like author’s bio, links for further reading) but it won’t be treated as landmark in those cases.
Exporting your Landmark annotations

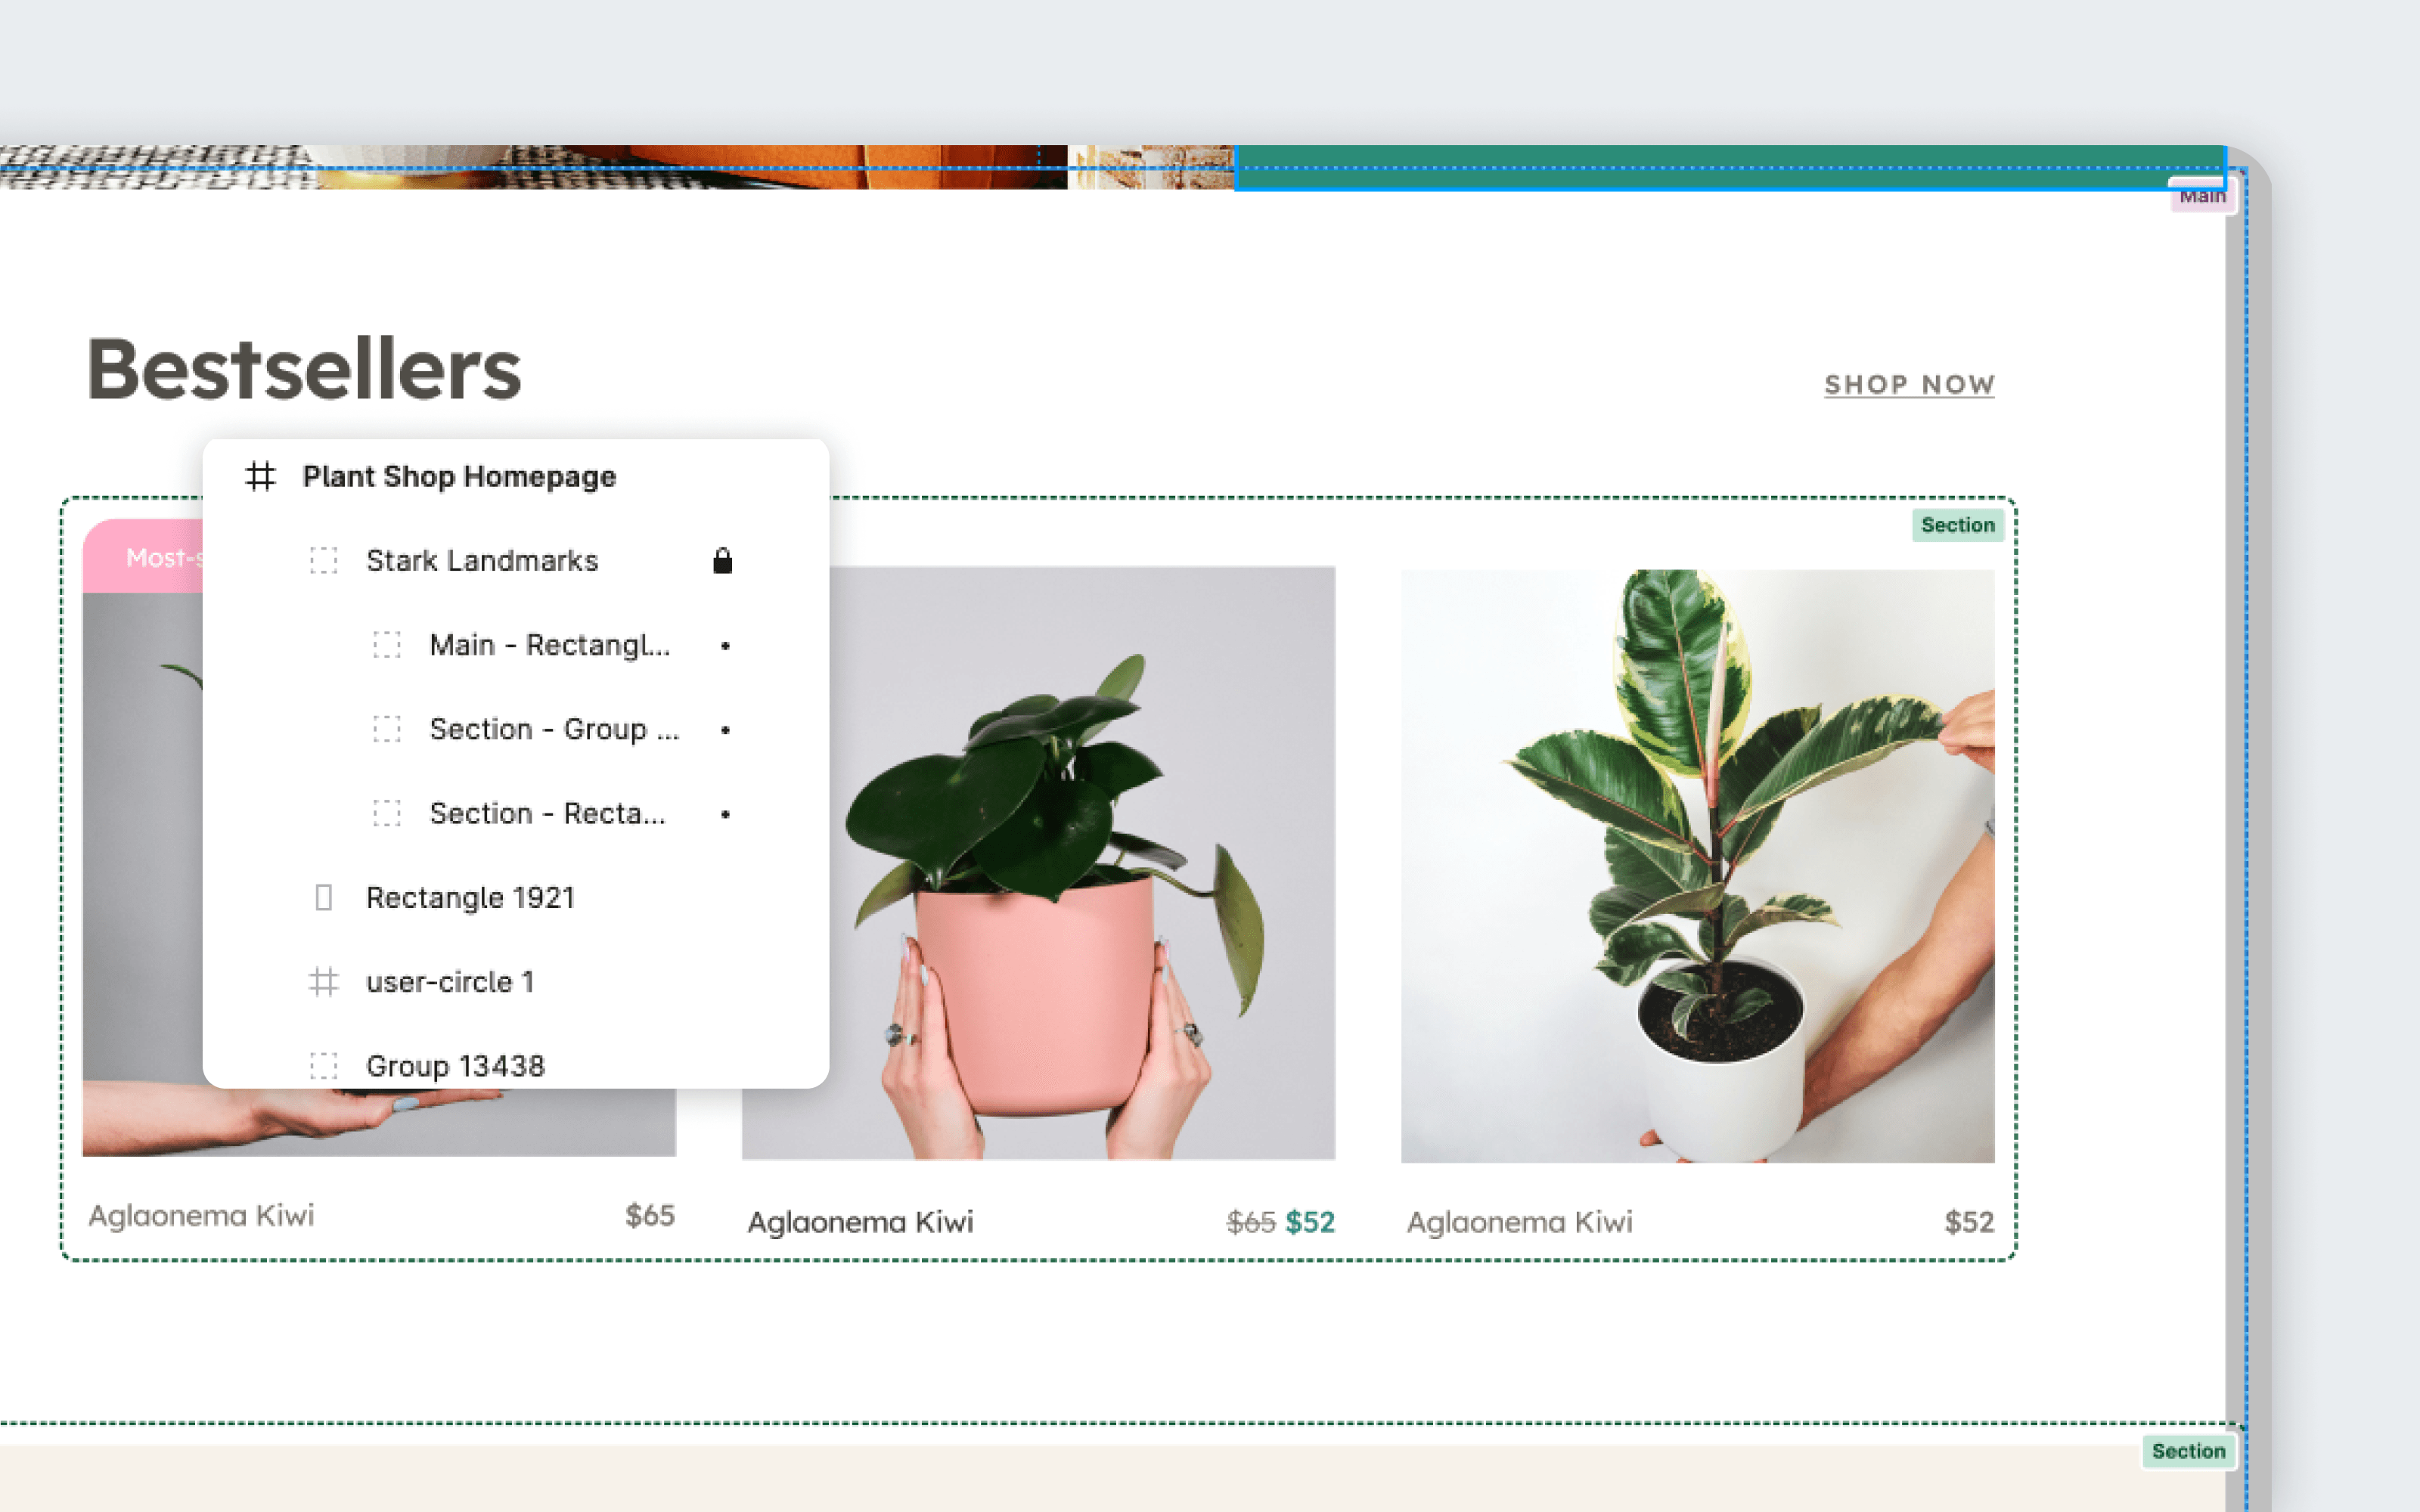
Landmarks in Stark not only annotates your design by displaying badges and dashed boxes, but also includes these annotations in your layer tree. This makes exporting to your fellow designers, developers, PM’s, or any other stakeholders on your team much easier.
Using Landmarks in your browser
Download: Stark for Brave, Stark for Chrome, Stark for Edge

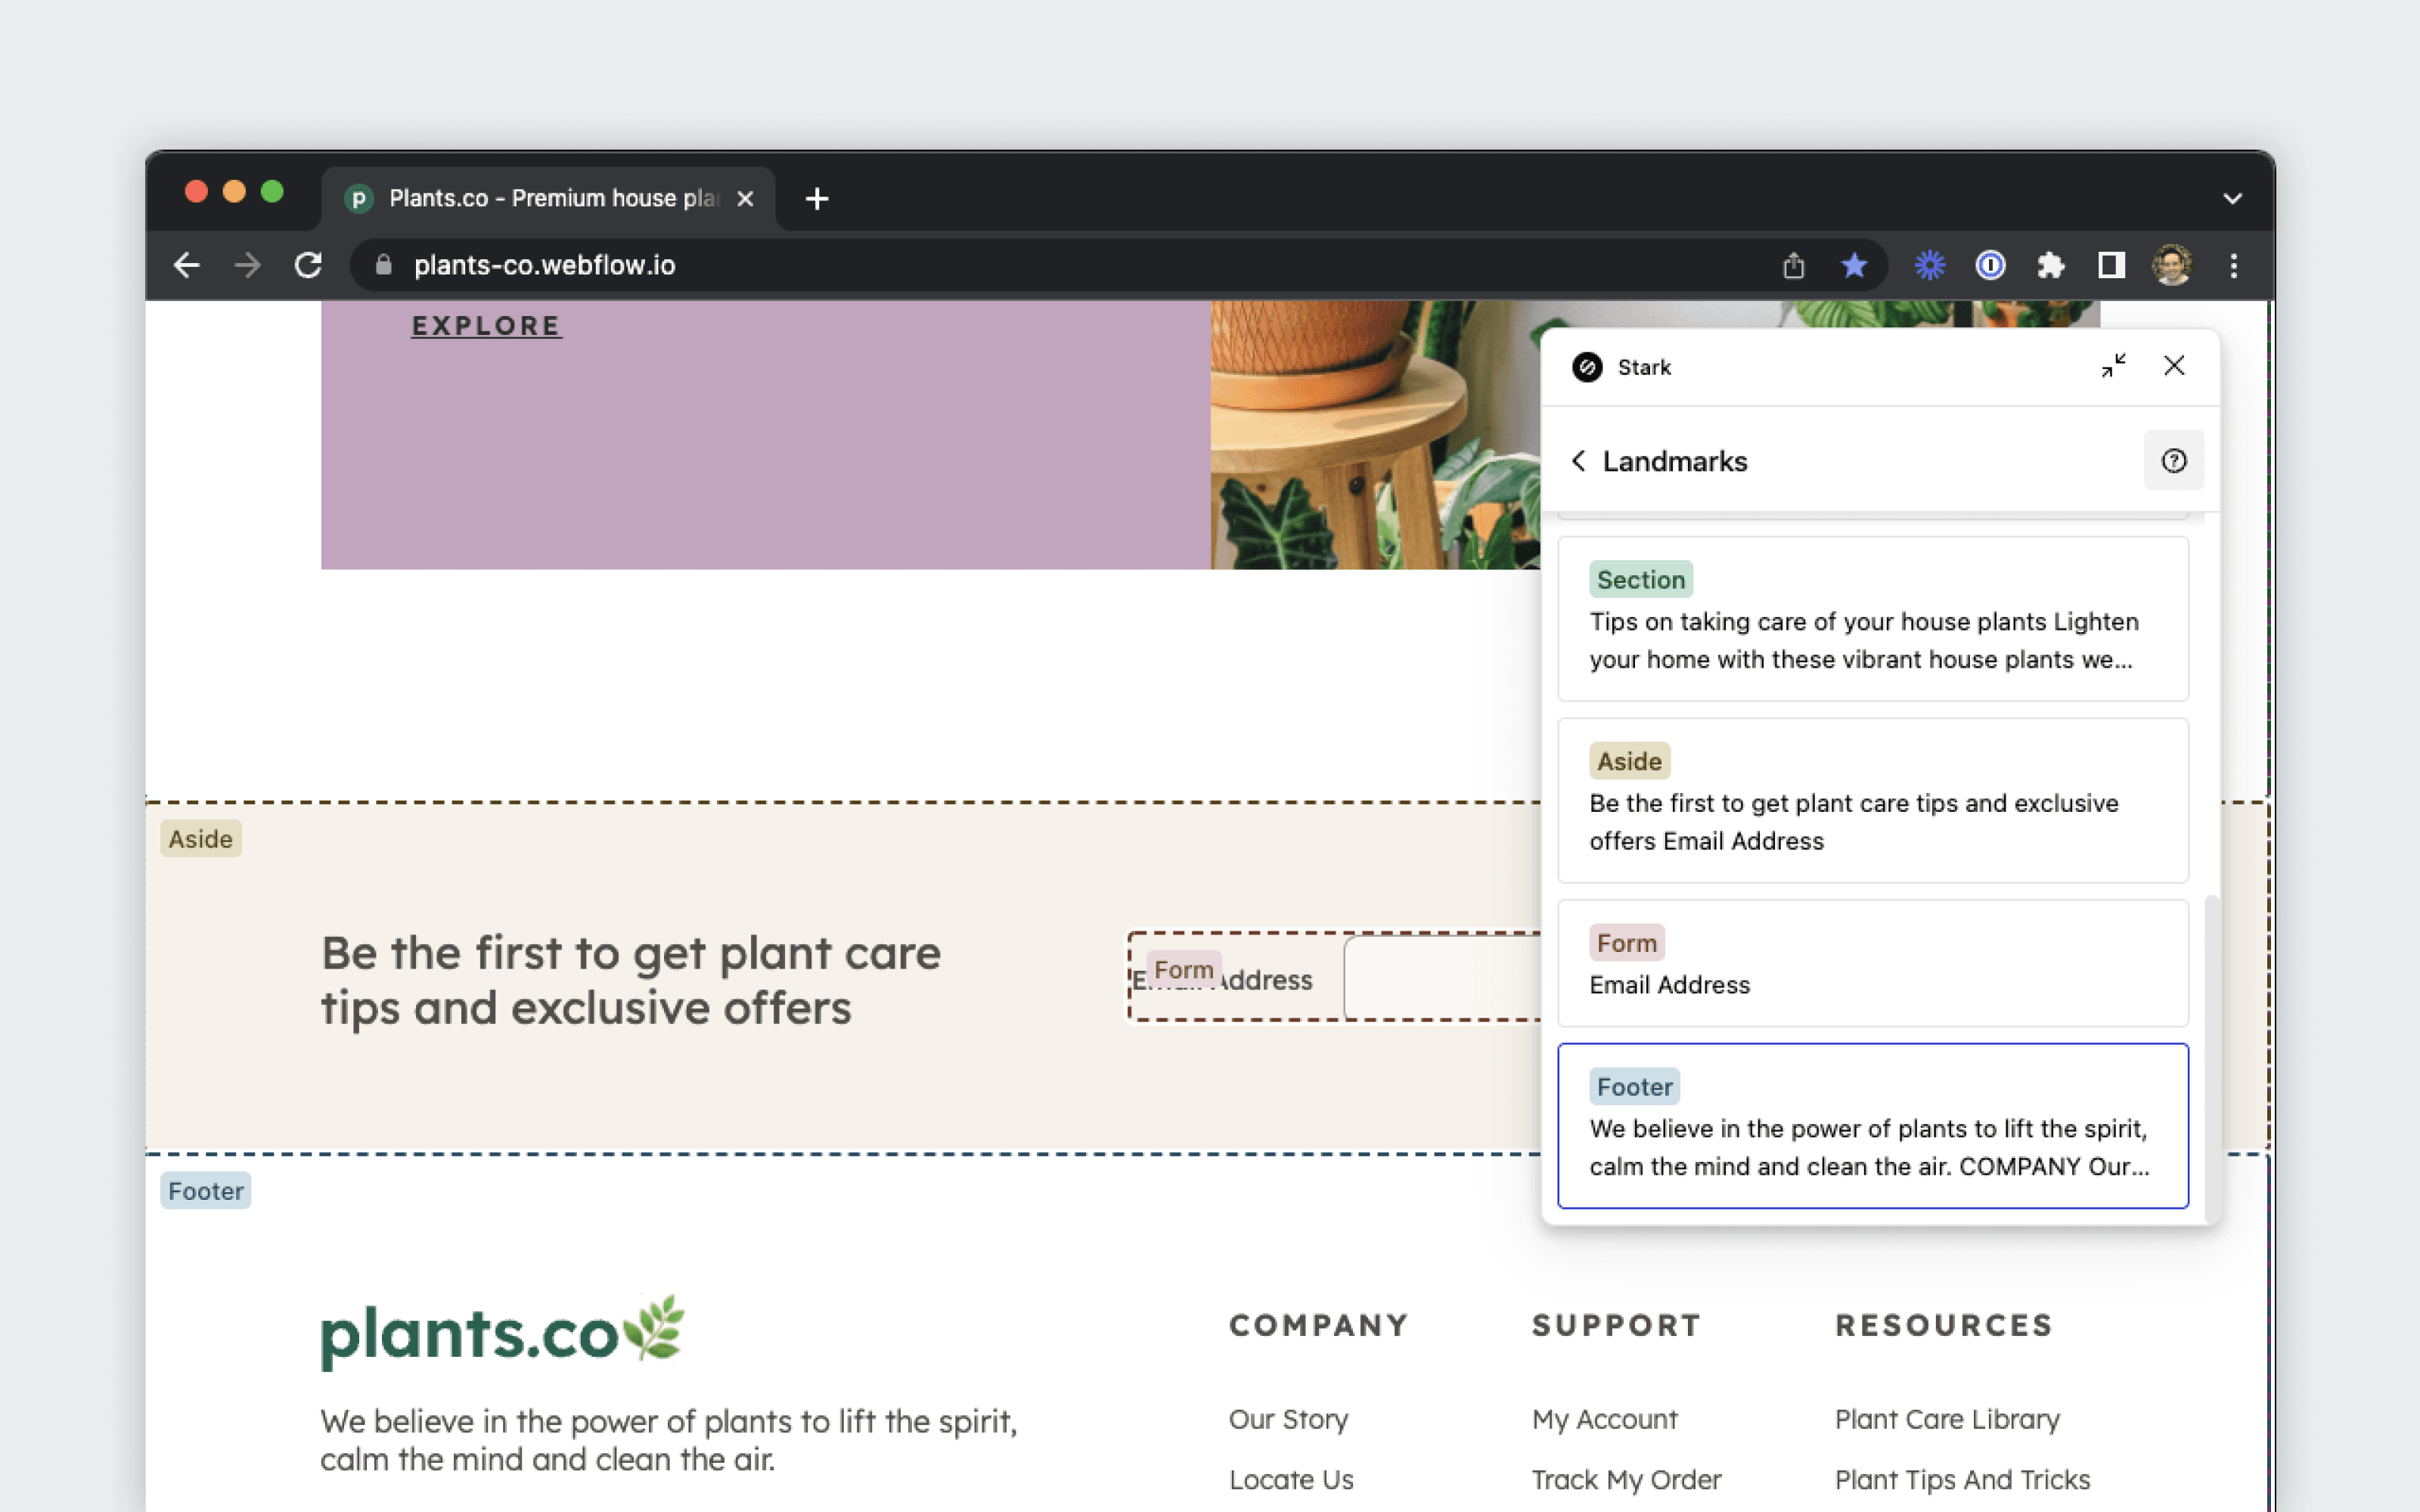
To get started using Landmarks, open Stark from your browser’s extension menu. After opening the Landmarks tool, Stark will automatically scan the live web page and surface the existing landmarks on your page.
This enables you to scan your page for incorrect, unclear, or missing landmarks and their accessible names, so that you can either share these findings with your wider team, or make the appropriate changes to your designs.
Further Reading
- How to use HTML5 sectioning elements to create useful accessible landmarks, by Hassell Inclusion (2020)
- Web Accessibility Tutorials - Page Regions, by the Web Accessibility Initiative of the W3C (2019)
- Coding examples in ARIA Landmarks Example, by the W3C ARIA Authoring Practices Task Force (2016)
Have any questions about using Landmarks? Don’t hesitate to reach out to us at support@getstark.co.