Using the Web App with Projects, Reports, and Insights
Get started using Stark's Web App to centralize your design and developer work and streamline how you build with accessibility in mind
Here’s how it works

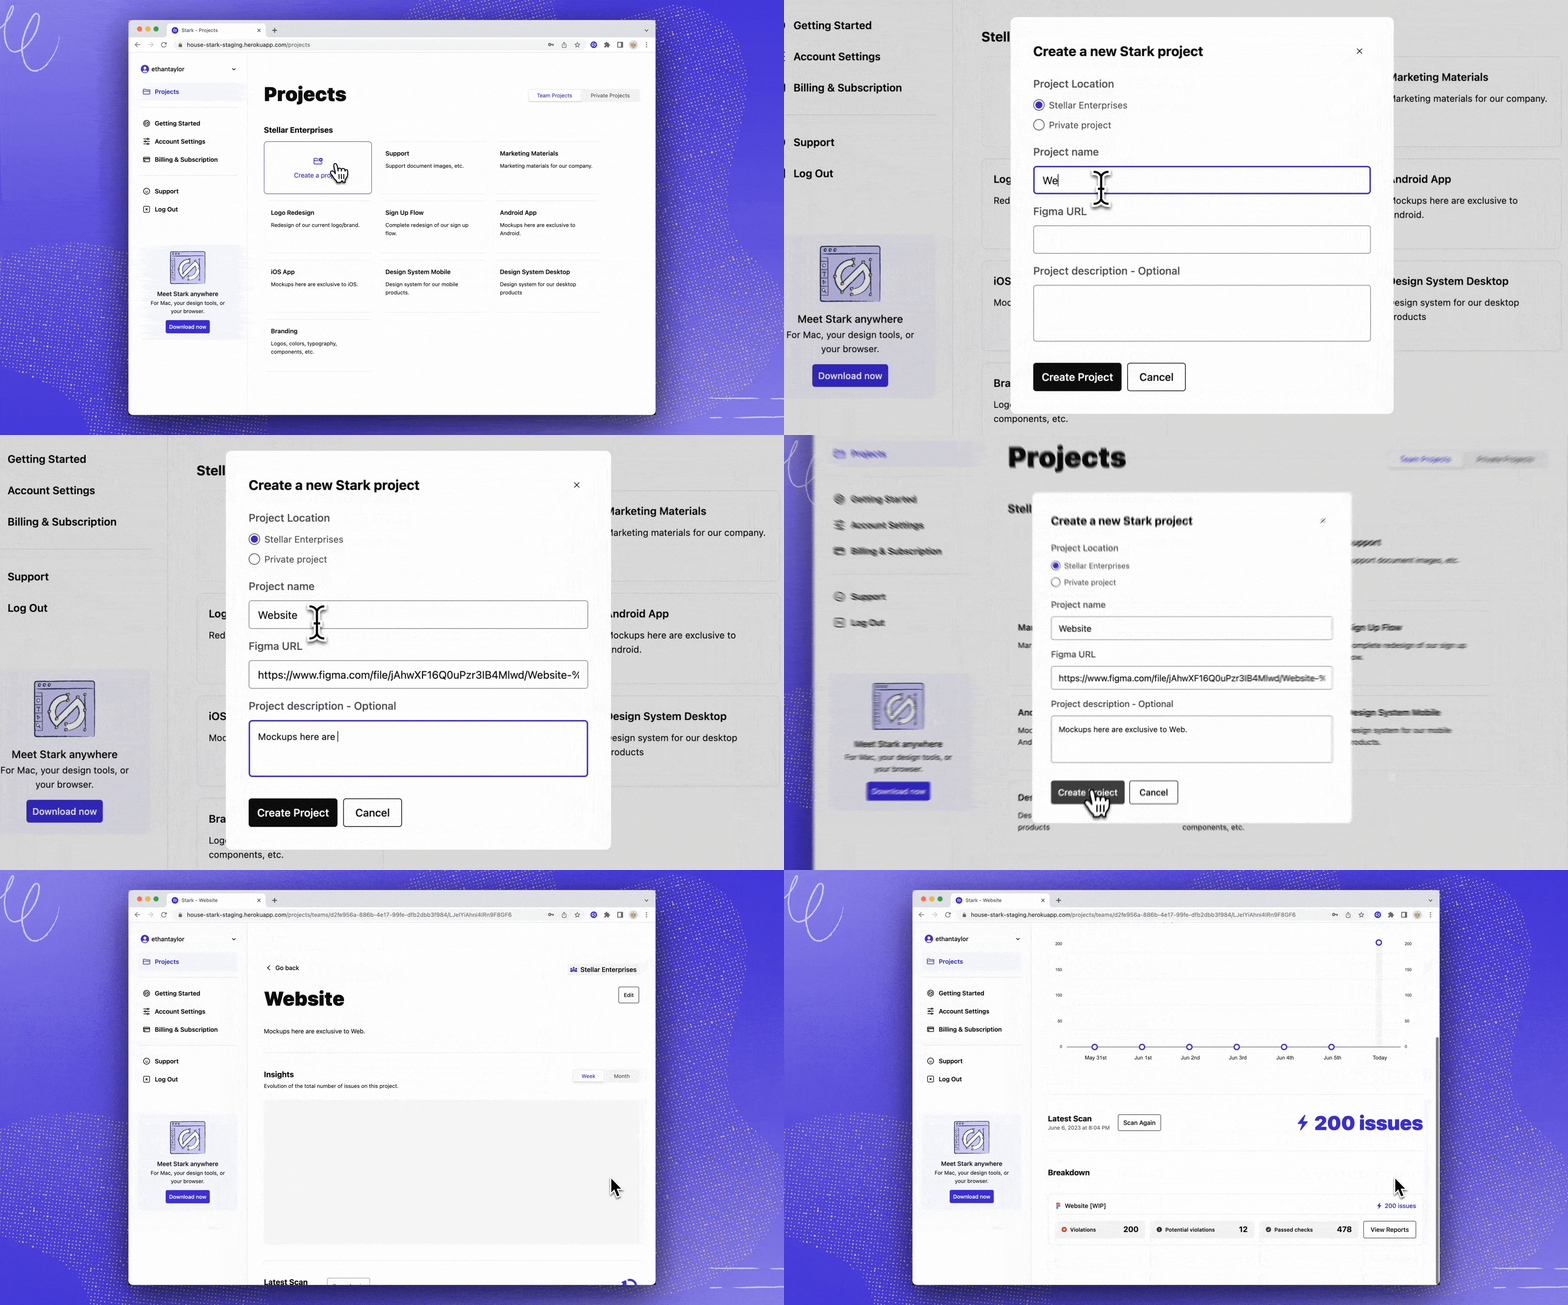
- Log into your Stark account
- Click
Create a Project - Select the Project Location
- You can select between Private and Team Projects
- Add a Project Name
- Add a link for the Figma URL of the project you want to scan
- Include a Project description (this step is optional)
- Click
Create Project
Team projects are shared with every person on your Stark team, so that every member of your team is always up-to-date and in the loop on the latest accessibility status. Private projects are only visible to the person who created them.
Scanning your Figma files
Stark automatically runs a scan every time you open a project, and you can also initiate as many manual scans as you want. With every scan, we generate a report of that project and all the assets connected with it. Your latest report can be accessed from your project overview page.
Fixing accessibility issues on your Figma file directly from the Web App:
- Once you've scanned a Figma file, click on
View Reports - From the "View Reports" page, click
View File in Figma - In Figma, go to
Plugins>Stark>Sidekickand use our AI-powered scan to monitor and correct the accessibility issues that surfaced on the Web App's report. - As the issues are corrected on your Figma file, you can see the issue count go down in real time with every scan.
Scanning your GitHub Repositories
- Log into your Stark account
- Click
Create a Project - Choose your Project Location: Team or Private
- Scroll to
Import Github Repositoryand follow the instructions shown to install Stark’s Github app - Select which repository you want Stark to scan for accessibility issues
- You can now run your first scan! 🎉
Scanning Live URLs
- Log into your Stark account
- Click
Create a Project - Choose your Project Location: Team or Private
- Scroll to
Scan URLsand add one URL per line - You can now run your first scan! 🎉
- Download and link your teammates to the
Reportto get started fixing each of the surfaced issues.
Understanding Reports

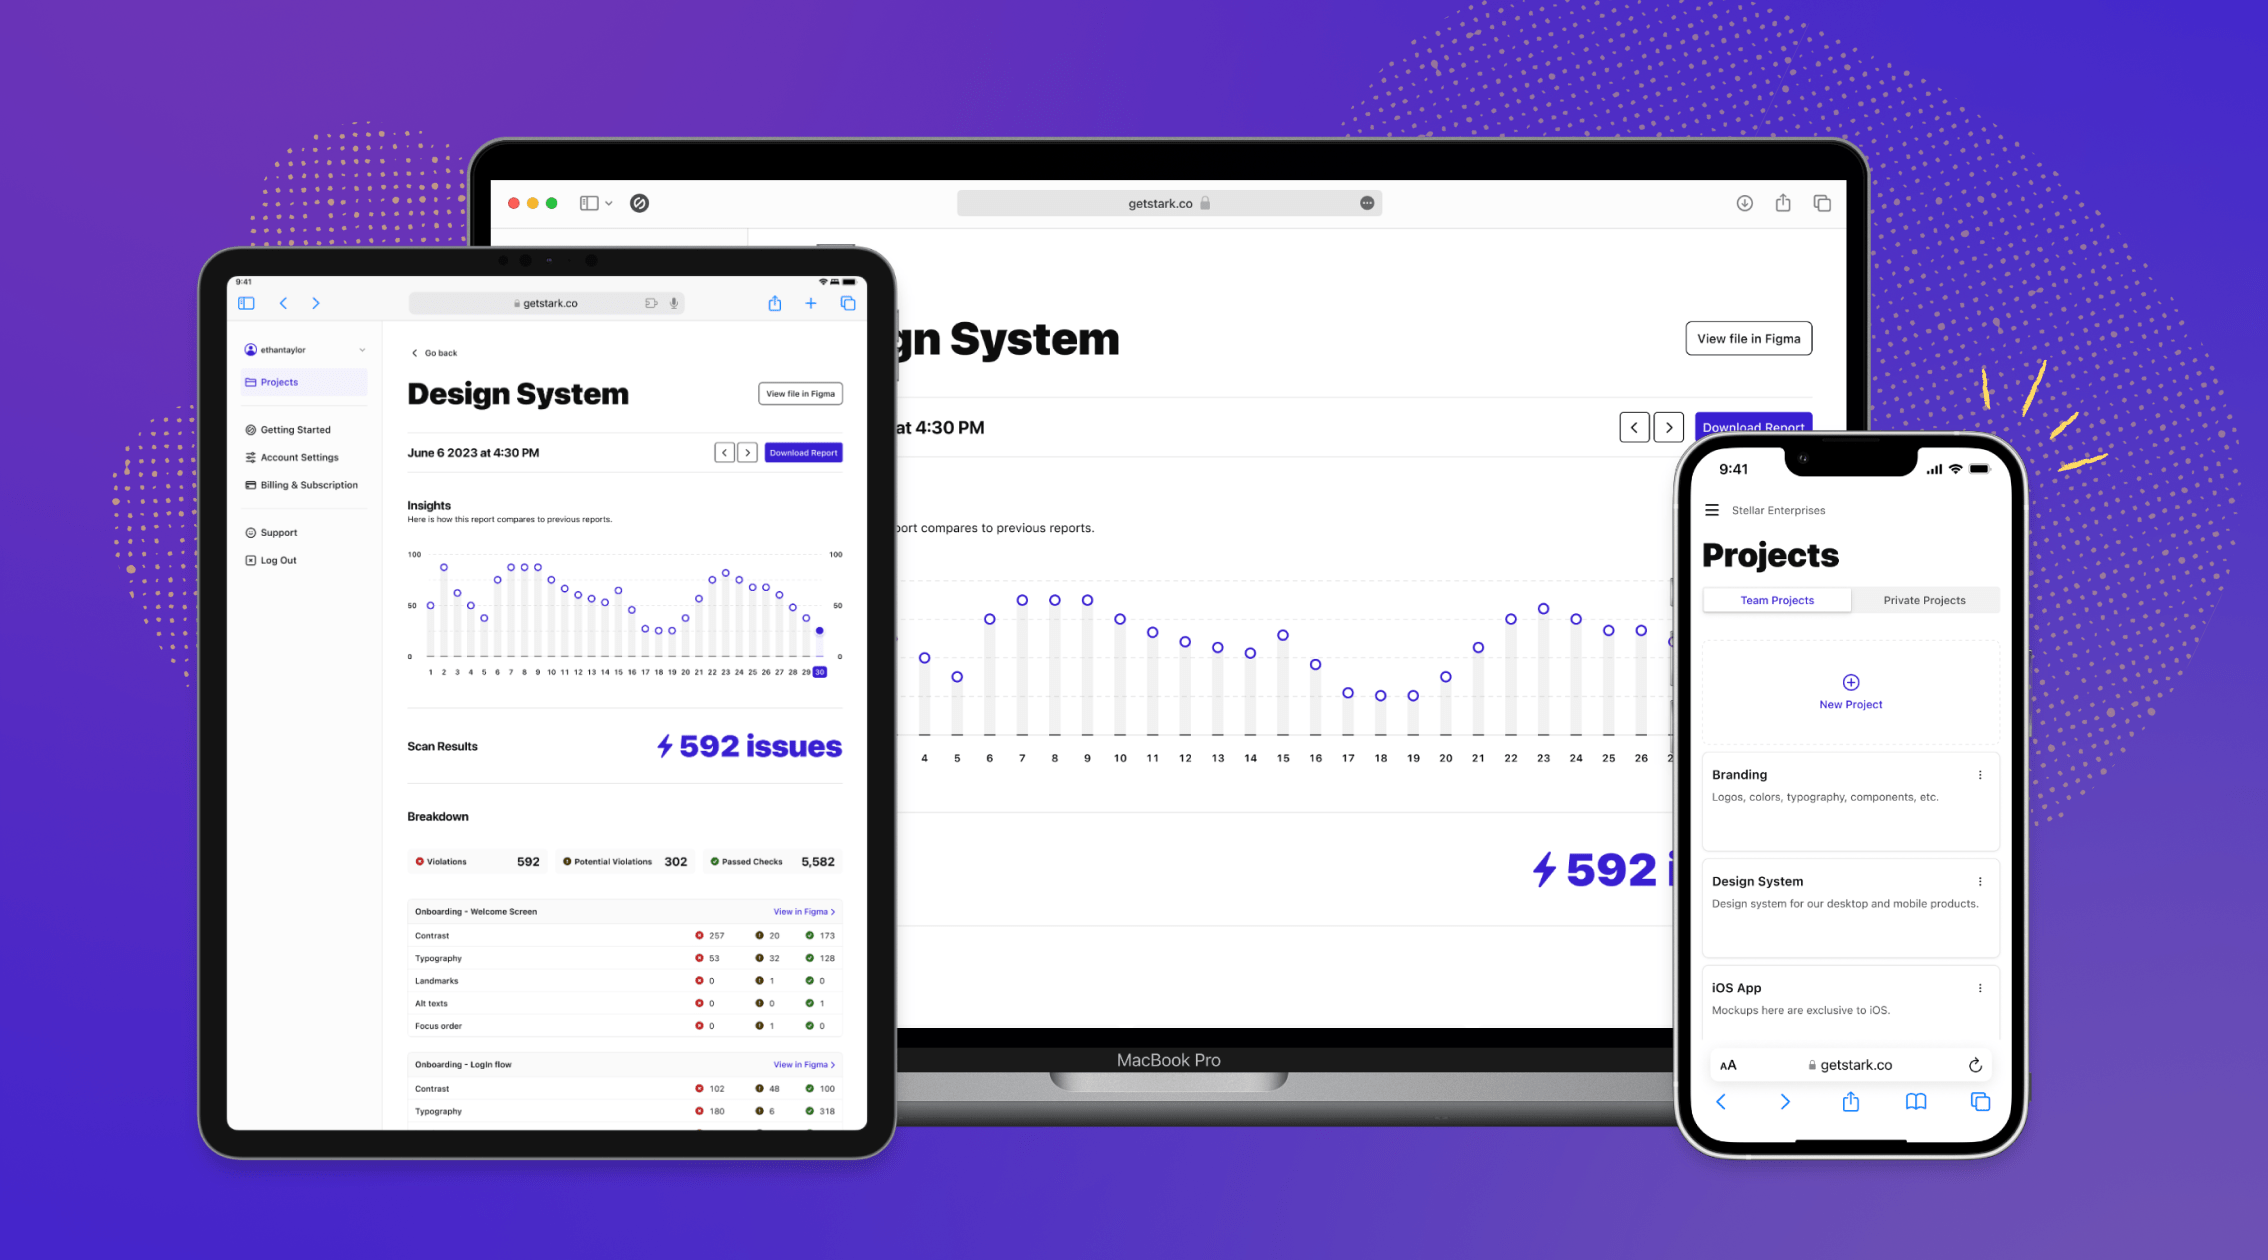
Reports show a snapshot-in-time on the accessibility status of each asset in your projects; you can choose to see the data breakdown by week or month with each bar representing the number of accessibility issues in the project.
With every scan, we generate a report of the project and all its assets. Your latest report can be accessed from your Project Overview Page. Stark automatically runs a scan every time you open a project. However, scans can also be triggered manually by clicking the Scan Again button right next to the issue count.
Report Breakdown shows all accessibility issues detected and it’s grouped by “violations,” “potential violations,” and “passed checks.”. Here’s what each of these numbers means.
- Score: We score your audit results as a % of rules that passed against the total number of elements scanned
- Violations: We count the number of elements that didn’t pass the compliance checks
- Potential: This shows the number of elements that require manual validation because we couldn’t automatically confirm that they failed.
- Passed: The number of elements that passed our compliance checks.
Download the Report
With a single URL, you can download the report for your project and share it with your teammates. All you need to do is copy and paste the URL from your browser and send it to a teammate in Slack, Teams, or email. If they’re logged into the Web app, the URL will take them right to the report. If you need a downloadable file instead, you can get an HTML file of the report that you can then share with your compliance team for vendor certifications or auditing purposes.
Zero Trust
The Stark Web App with Projects, Reports, and Insights adheres to our Zero Trust policy. Stark doesn’t store any document data on our servers, so your information remains in your own secure repositories.
Create Accessibility Tickets
- Select the
Create ticketbutton to the right of the issue description. - Stark automatically prefills the relevant information like specific bug descriptions and issue categories, plus a link to the asset. You can edit all this information, and pick the right project in your ticketing system.
- Hit
Create– and just like that, your accessibility ticket is added to your ticketing system.
Have any questions about using Stark's Web App? Don’t hesitate to reach out to us at support@getstark.co.